Lighting plays a crucial role in the overall design and functionality of a living room. It not only provides illumination but also sets the mood and ambiance of the space. Whether you’re entertaining guests, watching a movie, or simply relaxing with a book, having the right lighting can make all the difference. In this article, we will explore the importance of lighting in a living room and provide tips and ideas for choosing the perfect ceiling light, installing it, and maintaining it for years to come.
The importance of a ceiling light in your living room
A ceiling light serves as the main source of light in a living room. It provides general illumination that evenly spreads throughout the space, allowing you to see and move around comfortably. Without a ceiling light, a living room can feel dark and unwelcoming, making it difficult to perform everyday tasks or enjoy activities.
In addition to providing functional lighting, a ceiling light also sets the tone for the entire space. It can enhance the overall design aesthetic and create a focal point in the room. Whether you prefer a modern, minimalist look or a more traditional and ornate style, there is a ceiling light that can complement your living room decor and enhance its overall ambiance.
Choosing the right style for your living room
When it comes to choosing a ceiling light for your living room, there are countless styles to choose from. The style you choose should complement the overall aesthetic of your living room and enhance its design. For example, if you have a modern and minimalist living room, you may opt for a sleek and simple ceiling light with clean lines and minimal ornamentation. On the other hand, if you have a more traditional or eclectic living room, you may prefer a ceiling light with intricate details and decorative elements.
Some popular styles of ceiling lights include:
– Chandeliers: Chandeliers are elegant and timeless fixtures that can add a touch of luxury to any living room. They come in a variety of styles, from traditional crystal chandeliers to modern and minimalist designs.
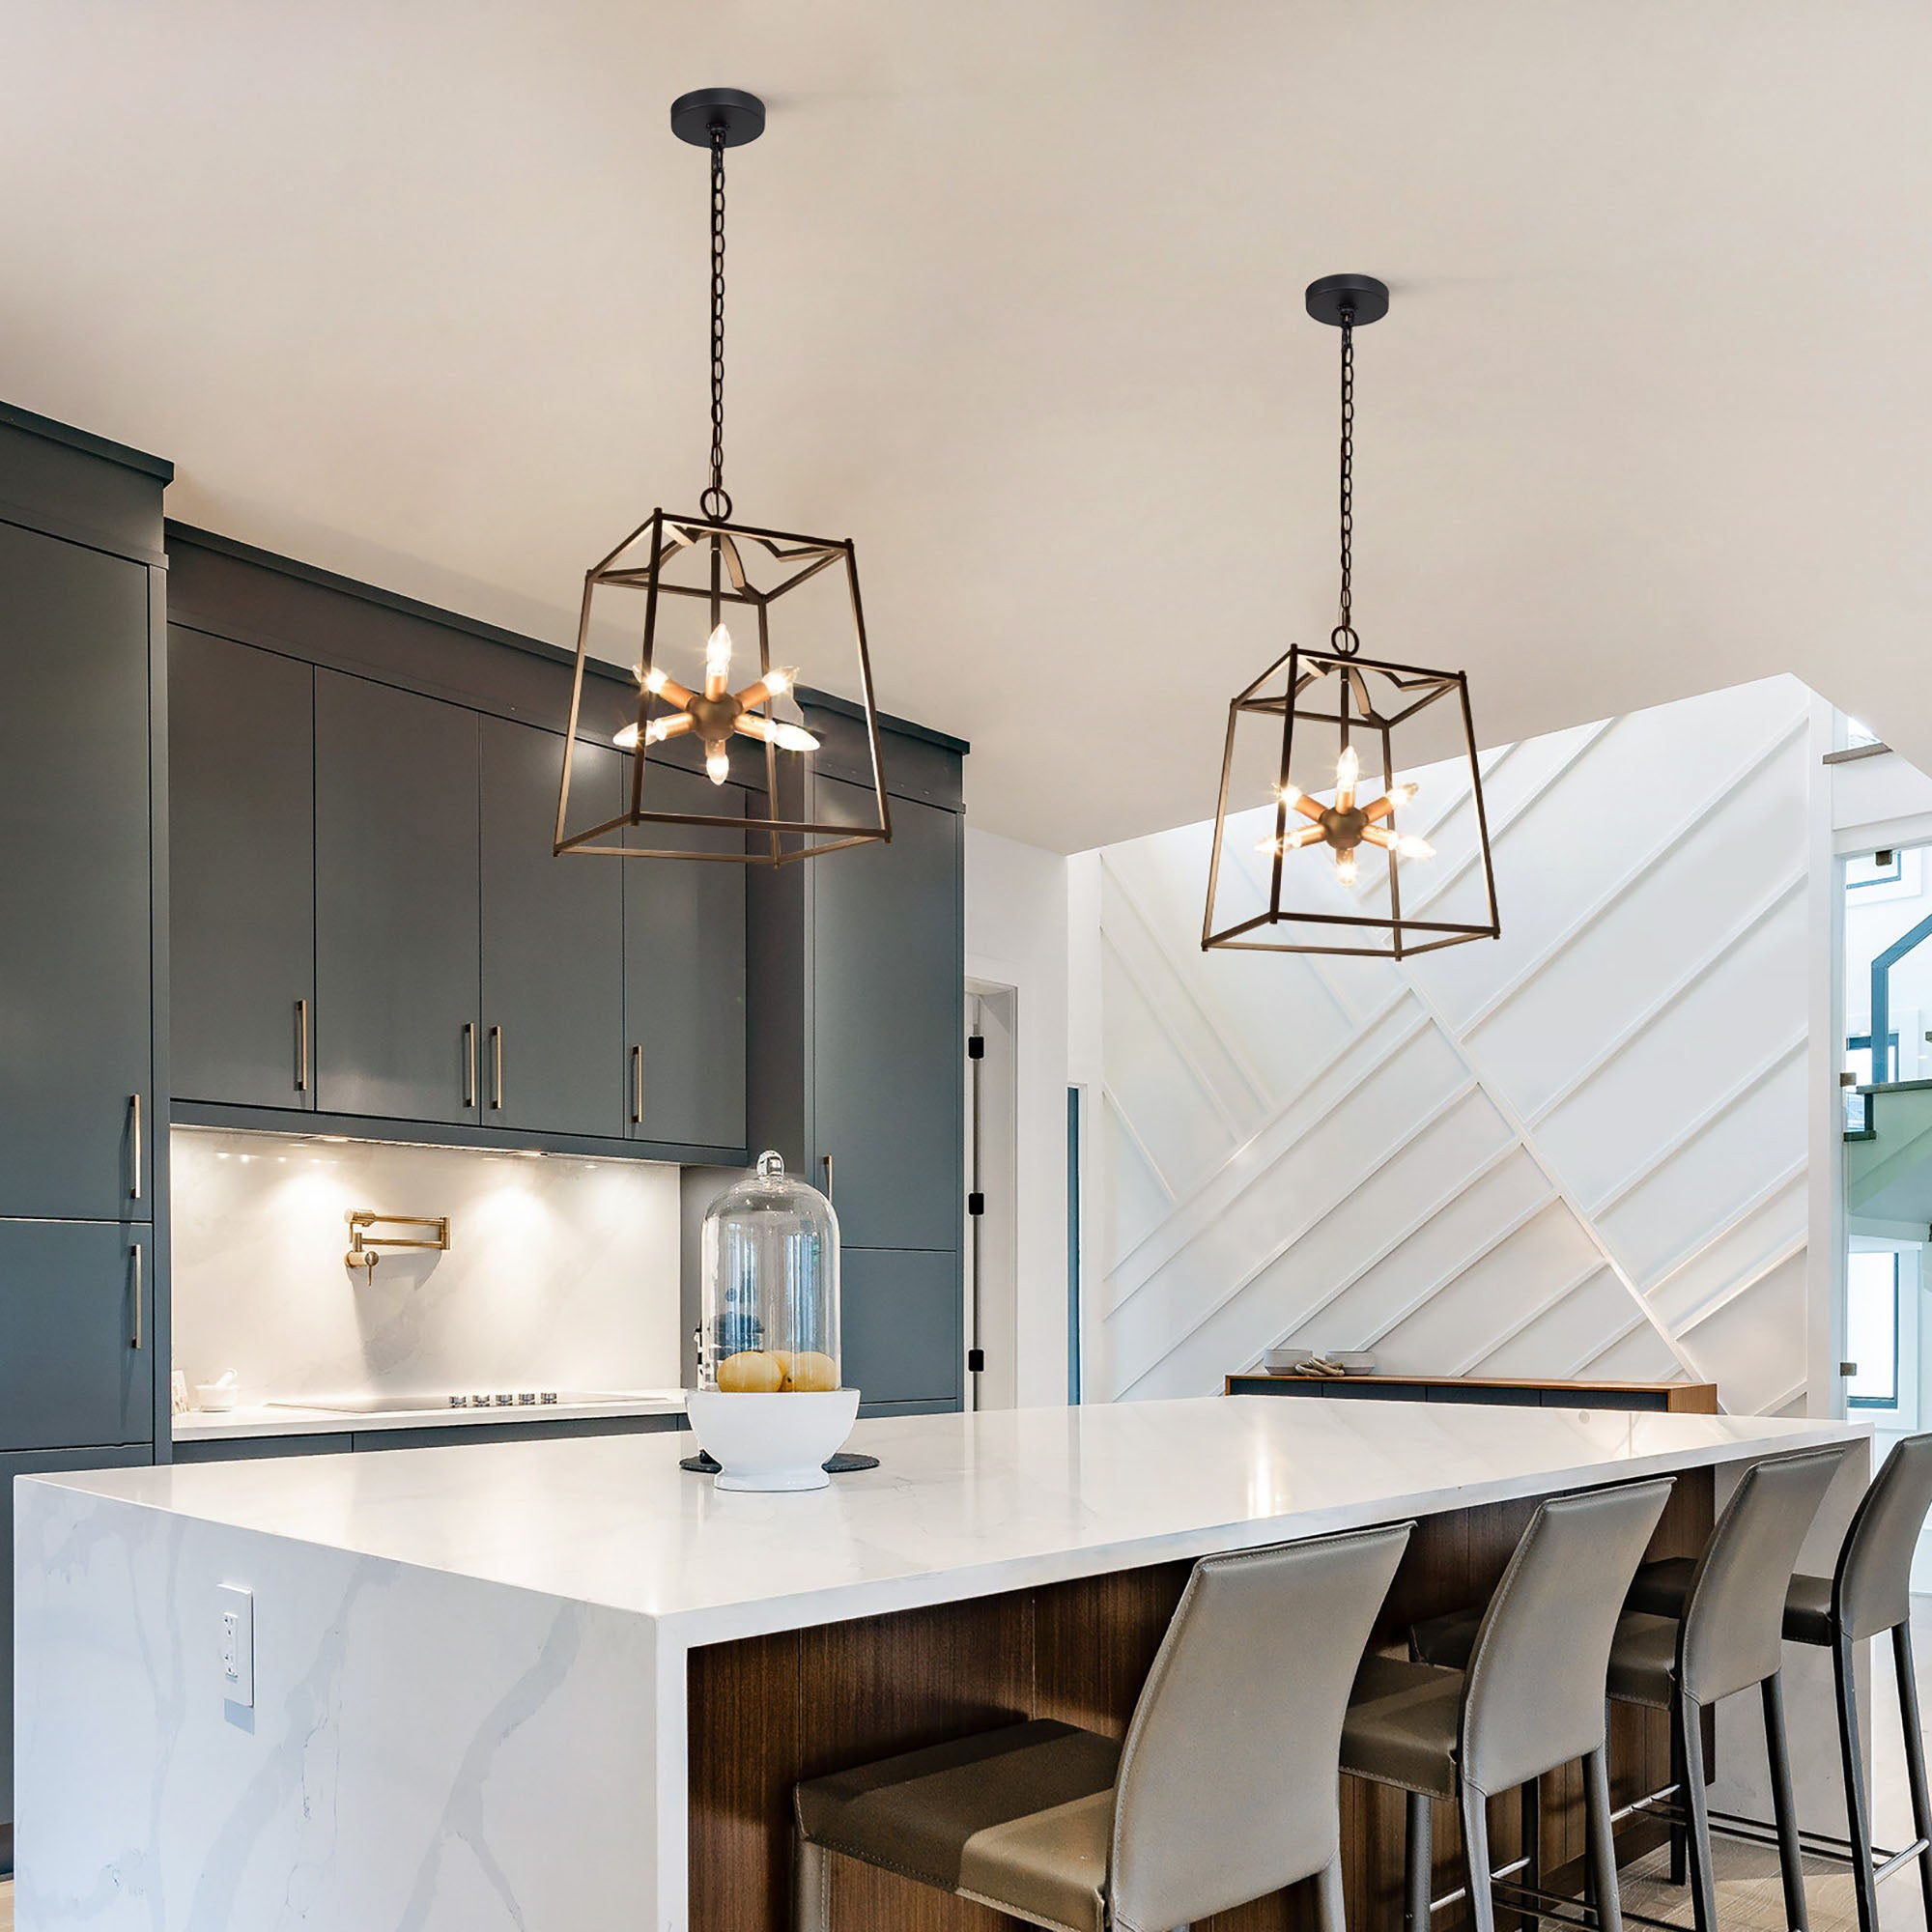
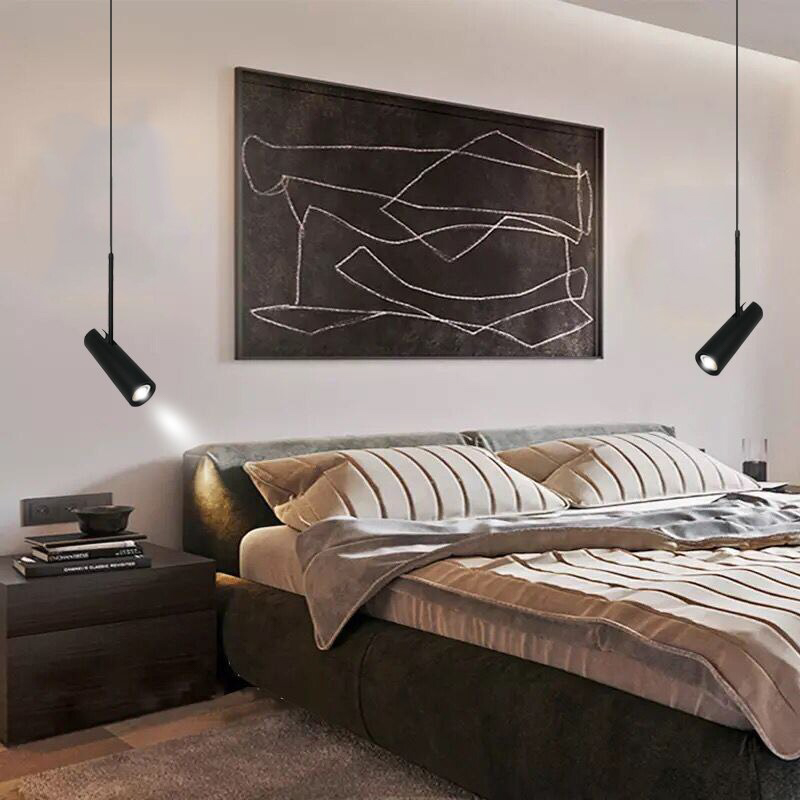
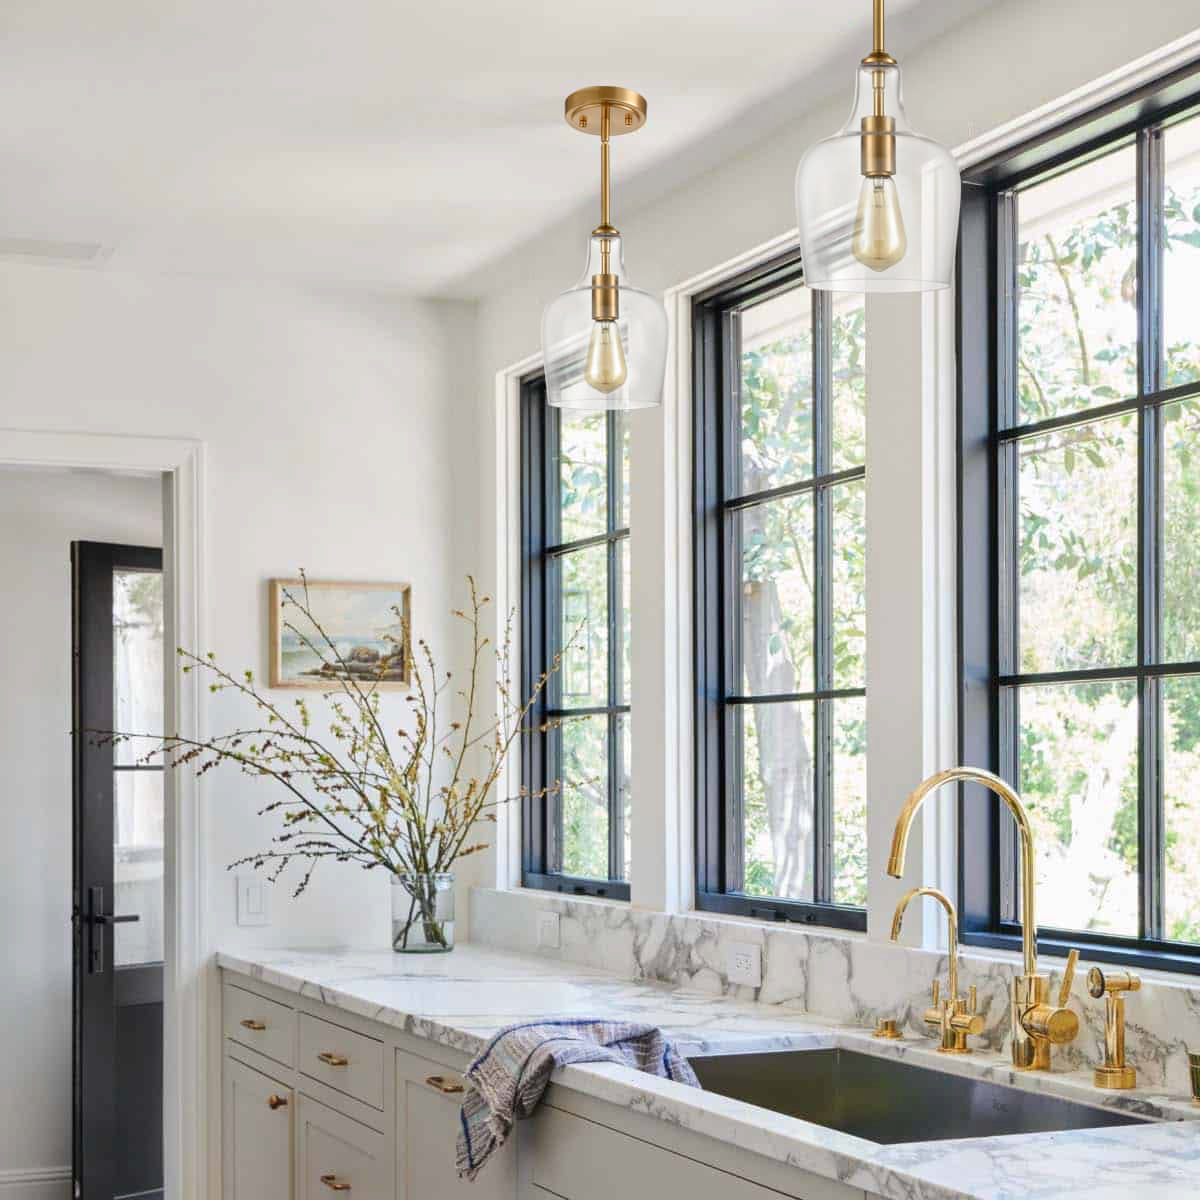
– Pendant lights: Pendant lights are versatile fixtures that can be used in a variety of living room styles. They hang from the ceiling and provide focused lighting, making them perfect for illuminating specific areas or creating a statement piece.
– Flush mount lights: Flush mount lights are ideal for living rooms with low ceilings or limited space. They are mounted directly against the ceiling, providing a sleek and seamless look.
– Track lighting: Track lighting consists of multiple adjustable fixtures mounted on a track. It is a great option for living rooms with multiple seating areas or where flexibility is desired.
How to measure for the perfect size of ceiling light
Choosing the right size of ceiling light is essential to ensure it fits proportionally in your living room and provides adequate lighting. To determine the appropriate size, you will need to measure the dimensions of your living room.
First, measure the length and width of your living room in feet. For example, if your living room is 12 feet long and 10 feet wide, you would multiply these two numbers together to get the total square footage: 12 x 10 = 120 square feet.
Next, consider the height of your ceiling. If you have standard 8-foot ceilings, you can use the following formula to determine the ideal size of your ceiling light:
Total square footage x 1.5 = Diameter of ceiling light in inches
Using our previous example, if your living room is 120 square feet, you would multiply this number by 1.5 to get the diameter of your ceiling light: 120 x 1.5 = 180 inches.
It’s important to note that this formula provides a general guideline and can be adjusted based on personal preference and the specific layout of your living room. If you have higher ceilings or prefer a larger or smaller light fixture, you may need to make adjustments accordingly.
The benefits of LED lighting for your living room
LED lighting has become increasingly popular in recent years, and for good reason. LED lights offer numerous benefits that make them an excellent choice for living room lighting.
One of the main advantages of LED lighting is its energy efficiency. LED lights use significantly less energy than traditional incandescent or fluorescent bulbs, which can help reduce your energy consumption and lower your electricity bills. Additionally, LED lights have a longer lifespan, lasting up to 25 times longer than traditional bulbs. This means you won’t have to replace them as frequently, saving you time and money in the long run.
LED lights also offer a wide range of color options, allowing you to create the perfect ambiance in your living room. They can be dimmed or adjusted to different color temperatures, from warm and cozy to cool and invigorating. This versatility allows you to customize the lighting in your living room based on your mood or the specific activity you’re engaged in.
How to install a ceiling light in your living room

Installing a ceiling light may seem like a daunting task, but with the right tools and instructions, it can be a relatively straightforward process. Here is a step-by-step guide to help you install a ceiling light in your living room:
1. Turn off the power: Before starting any electrical work, make sure to turn off the power at the circuit breaker to avoid any accidents.
2. Remove the old fixture: If you are replacing an existing ceiling light, start by removing the old fixture. This typically involves unscrewing the mounting screws or nuts that hold it in place.
3. Disconnect the wires: Once the old fixture is removed, disconnect the wires by unscrewing the wire nuts and separating the wires.
4. Attach the mounting bracket: Most ceiling lights come with a mounting bracket that needs to be attached to the electrical box in the ceiling. Follow the manufacturer’s instructions to securely attach the bracket.
5. Connect the wires: Connect the wires from the ceiling to the wires on the new light fixture. Match the black wire with the black wire, the white wire with the white wire, and the green or copper wire with the ground wire.
6. Secure the light fixture: Once the wires are connected, carefully tuck them into the electrical box and secure the light fixture to the mounting bracket using screws or nuts provided.
7. Install light bulbs: Finally, install the light bulbs according to the manufacturer’s instructions and turn on the power to test the new ceiling light.
It’s important to note that if you are not comfortable working with electricity or are unsure about any step of the installation process, it is best to hire a professional electrician to ensure a safe and proper installation.
Tips for layering lighting in your living room
Layering lighting is an essential technique for creating a well-lit and inviting living room. By incorporating different types of lighting, such as ceiling lights, table lamps, and floor lamps, you can create a layered effect that adds depth and dimension to your space. Here are some tips for layering lighting in your living room:
1. Start with ambient lighting: Ambient lighting, provided by ceiling lights or overhead fixtures, should serve as the foundation of your lighting design. It provides general illumination that evenly spreads throughout the room.
2. Add task lighting: Task lighting is focused lighting that is used for specific activities, such as reading or working on a laptop. Incorporate table lamps or desk lamps near seating areas or workspaces to provide ample task lighting.
3. Include accent lighting: Accent lighting is used to highlight specific features or objects in your living room, such as artwork or architectural details. Use wall sconces or picture lights to draw attention to these focal points.
4. Consider mood lighting: Mood lighting, such as dimmable lights or candles, can create a cozy and intimate atmosphere in your living room. Use dimmer switches or smart lighting systems to easily adjust the brightness and color temperature of your lights.
5. Don’t forget natural light: Natural light is a valuable source of illumination that can enhance the overall ambiance of your living room. Make the most of natural light by keeping windows unobstructed and using sheer curtains or blinds to control the amount of light entering the space.
By incorporating these different types of lighting, you can create a well-balanced and visually appealing living room that is both functional and inviting.
Creative ways to use a ceiling light as a statement piece
A ceiling light can be more than just a source of illumination; it can also serve as a statement piece that enhances the overall design of your living room. Here are some creative ways to use a ceiling light as a focal point in your space:
1. Choose a unique design: Instead of opting for a traditional ceiling light, consider choosing a unique and eye-catching design that reflects your personal style. Look for fixtures with interesting shapes, materials, or colors that will make a bold statement in your living room.
2. Go big and bold: If you have high ceilings or a large living room, don’t be afraid to choose a ceiling light that is big and bold. Oversized chandeliers or pendant lights can create a dramatic effect and become the centerpiece of your living room.
3. Create a cluster: Instead of installing a single ceiling light, consider creating a cluster of lights for a more dynamic and visually interesting look. This can be achieved by hanging multiple pendant lights at different heights or installing a series of small flush mount lights in a pattern.
4. Incorporate unexpected materials: Ceiling lights don’t have to be made from traditional materials like glass or metal. Consider choosing a fixture made from unexpected materials, such as wood, fabric, or even recycled materials, to add a unique and eclectic touch to your living room.
5. Use lighting as art: Some ceiling lights are so visually striking that they can be considered works of art in their own right. Look for fixtures that feature intricate designs, sculptural elements, or interesting patterns that can double as art pieces in your living room.
By thinking outside the box and using a ceiling light as a statement piece, you can elevate the design of your living room and create a space that is truly unique and memorable.
The impact of color temperature on your living room ambiance
Color temperature refers to the warmth or coolness of light, measured in Kelvin (K). It can have a significant impact on the mood and ambiance of your living room. Understanding how different color temperatures work can help you create the desired atmosphere in your space.
Warm color temperatures, typically ranging from 2700K to 3000K, emit a soft and cozy light that is reminiscent of candlelight or firelight. This warm light creates a relaxed and inviting atmosphere, making it ideal for living rooms where comfort and relaxation are key. Warm color temperatures are often used in traditional or rustic living room designs to enhance the warm tones of wood furniture or create a cozy reading nook.
On the other hand, cool color temperatures, typically ranging from 4000K to 6500K, emit a bright and energizing light that is similar to daylight. This cool light creates a more vibrant and stimulating atmosphere, making it ideal for living rooms where productivity or socializing is the main focus. Cool color temperatures are often used in modern or contemporary living room designs to enhance the clean lines and bright colors of the space.
When choosing the color temperature for your living room lighting, consider the activities that will take place in the space and the mood you want to create. For example, if you enjoy reading or watching movies in your living room, you may prefer a warm color temperature that creates a cozy and relaxing ambiance. On the other hand, if you often entertain guests or use your living room as a workspace, you may prefer a cool color temperature that provides bright and energizing light.
How to clean and maintain your ceiling light
Regular cleaning and maintenance are essential to ensure your ceiling light stays in good condition and continues to provide optimal lighting for years to come. Here are some tips for cleaning and maintaining your ceiling light:
1. Turn off the power: Before cleaning your ceiling light, make sure to turn off the power at the circuit breaker to avoid any accidents.
2. Remove dust and debris: Start by removing any dust or debris from the surface of the light fixture using a soft cloth or duster. Be gentle to avoid scratching or damaging the fixture.
3. Clean glass or plastic shades: If your ceiling light has glass or plastic shades, remove them carefully and wash them with warm soapy water. Rinse thoroughly and dry completely before reattaching them to the fixture.
4. Clean metal or fabric parts: For metal or fabric parts of the fixture, use a mild cleaning solution or upholstery cleaner to remove any stains or dirt. Be sure to follow the manufacturer’s instructions and test the cleaner on a small, inconspicuous area first.
5. Check for loose connections: While cleaning your ceiling light, take the opportunity to check for any loose connections or damaged wires. Tighten any screws or nuts that may have come loose and replace any damaged wires or components as needed.
6. Replace light bulbs: If your ceiling light uses replaceable light bulbs, check them regularly and replace any burnt-out bulbs promptly. Be sure to use the correct wattage and type of bulb recommended by the manufacturer.
Regular cleaning and maintenance will not only keep your ceiling light looking its best but also ensure it continues to provide optimal lighting for your living room.
Affordable options for upgrading your living room lighting
Upgrading your living room lighting doesn’t have to break the bank. There are plenty of affordable options available that can instantly transform the look and feel of your space. Here are some budget-friendly ideas for upgrading your living room lighting:
1. Replace light bulbs: One of the easiest and most cost-effective ways to upgrade your living room lighting is by simply replacing the light bulbs. Opt for LED bulbs, which are energy-efficient and long-lasting, and choose a color temperature that suits your desired ambiance.
2. Install dimmer switches: Dimmer switches allow you to adjust the brightness of your lights, creating a more versatile and customizable lighting scheme. They are relatively inexpensive and can be easily installed by a DIY enthusiast.
3. Add plug-in wall sconces: If you don’t have existing wiring for wall sconces, consider adding plug-in wall sconces instead. These fixtures can be easily mounted on the wall and plugged into an existing outlet, providing additional lighting without the need for complicated electrical work.
4. Use floor or table lamps: Floor and table lamps are affordable and versatile lighting options that can instantly add style and functionality to your living room. Look for lamps with unique designs or interesting shades that complement your existing decor.
5. DIY pendant lights: If you’re feeling crafty, consider making your own pendant lights using inexpensive materials like mason jars, wire baskets, or even paper lanterns. There are endless possibilities for creating unique and personalized pendant lights. You can paint the mason jars in different colors or patterns, add decorative elements like beads or ribbons, or even fill them with fairy lights for a whimsical touch. Wire baskets can be transformed into industrial-style pendant lights by attaching a light bulb socket and hanging them from the ceiling. Paper lanterns offer a more delicate and ethereal look, perfect for creating a soft and romantic ambiance. With a little creativity and some basic DIY skills, you can have stunning pendant lights that are both budget-friendly and one-of-a-kind.