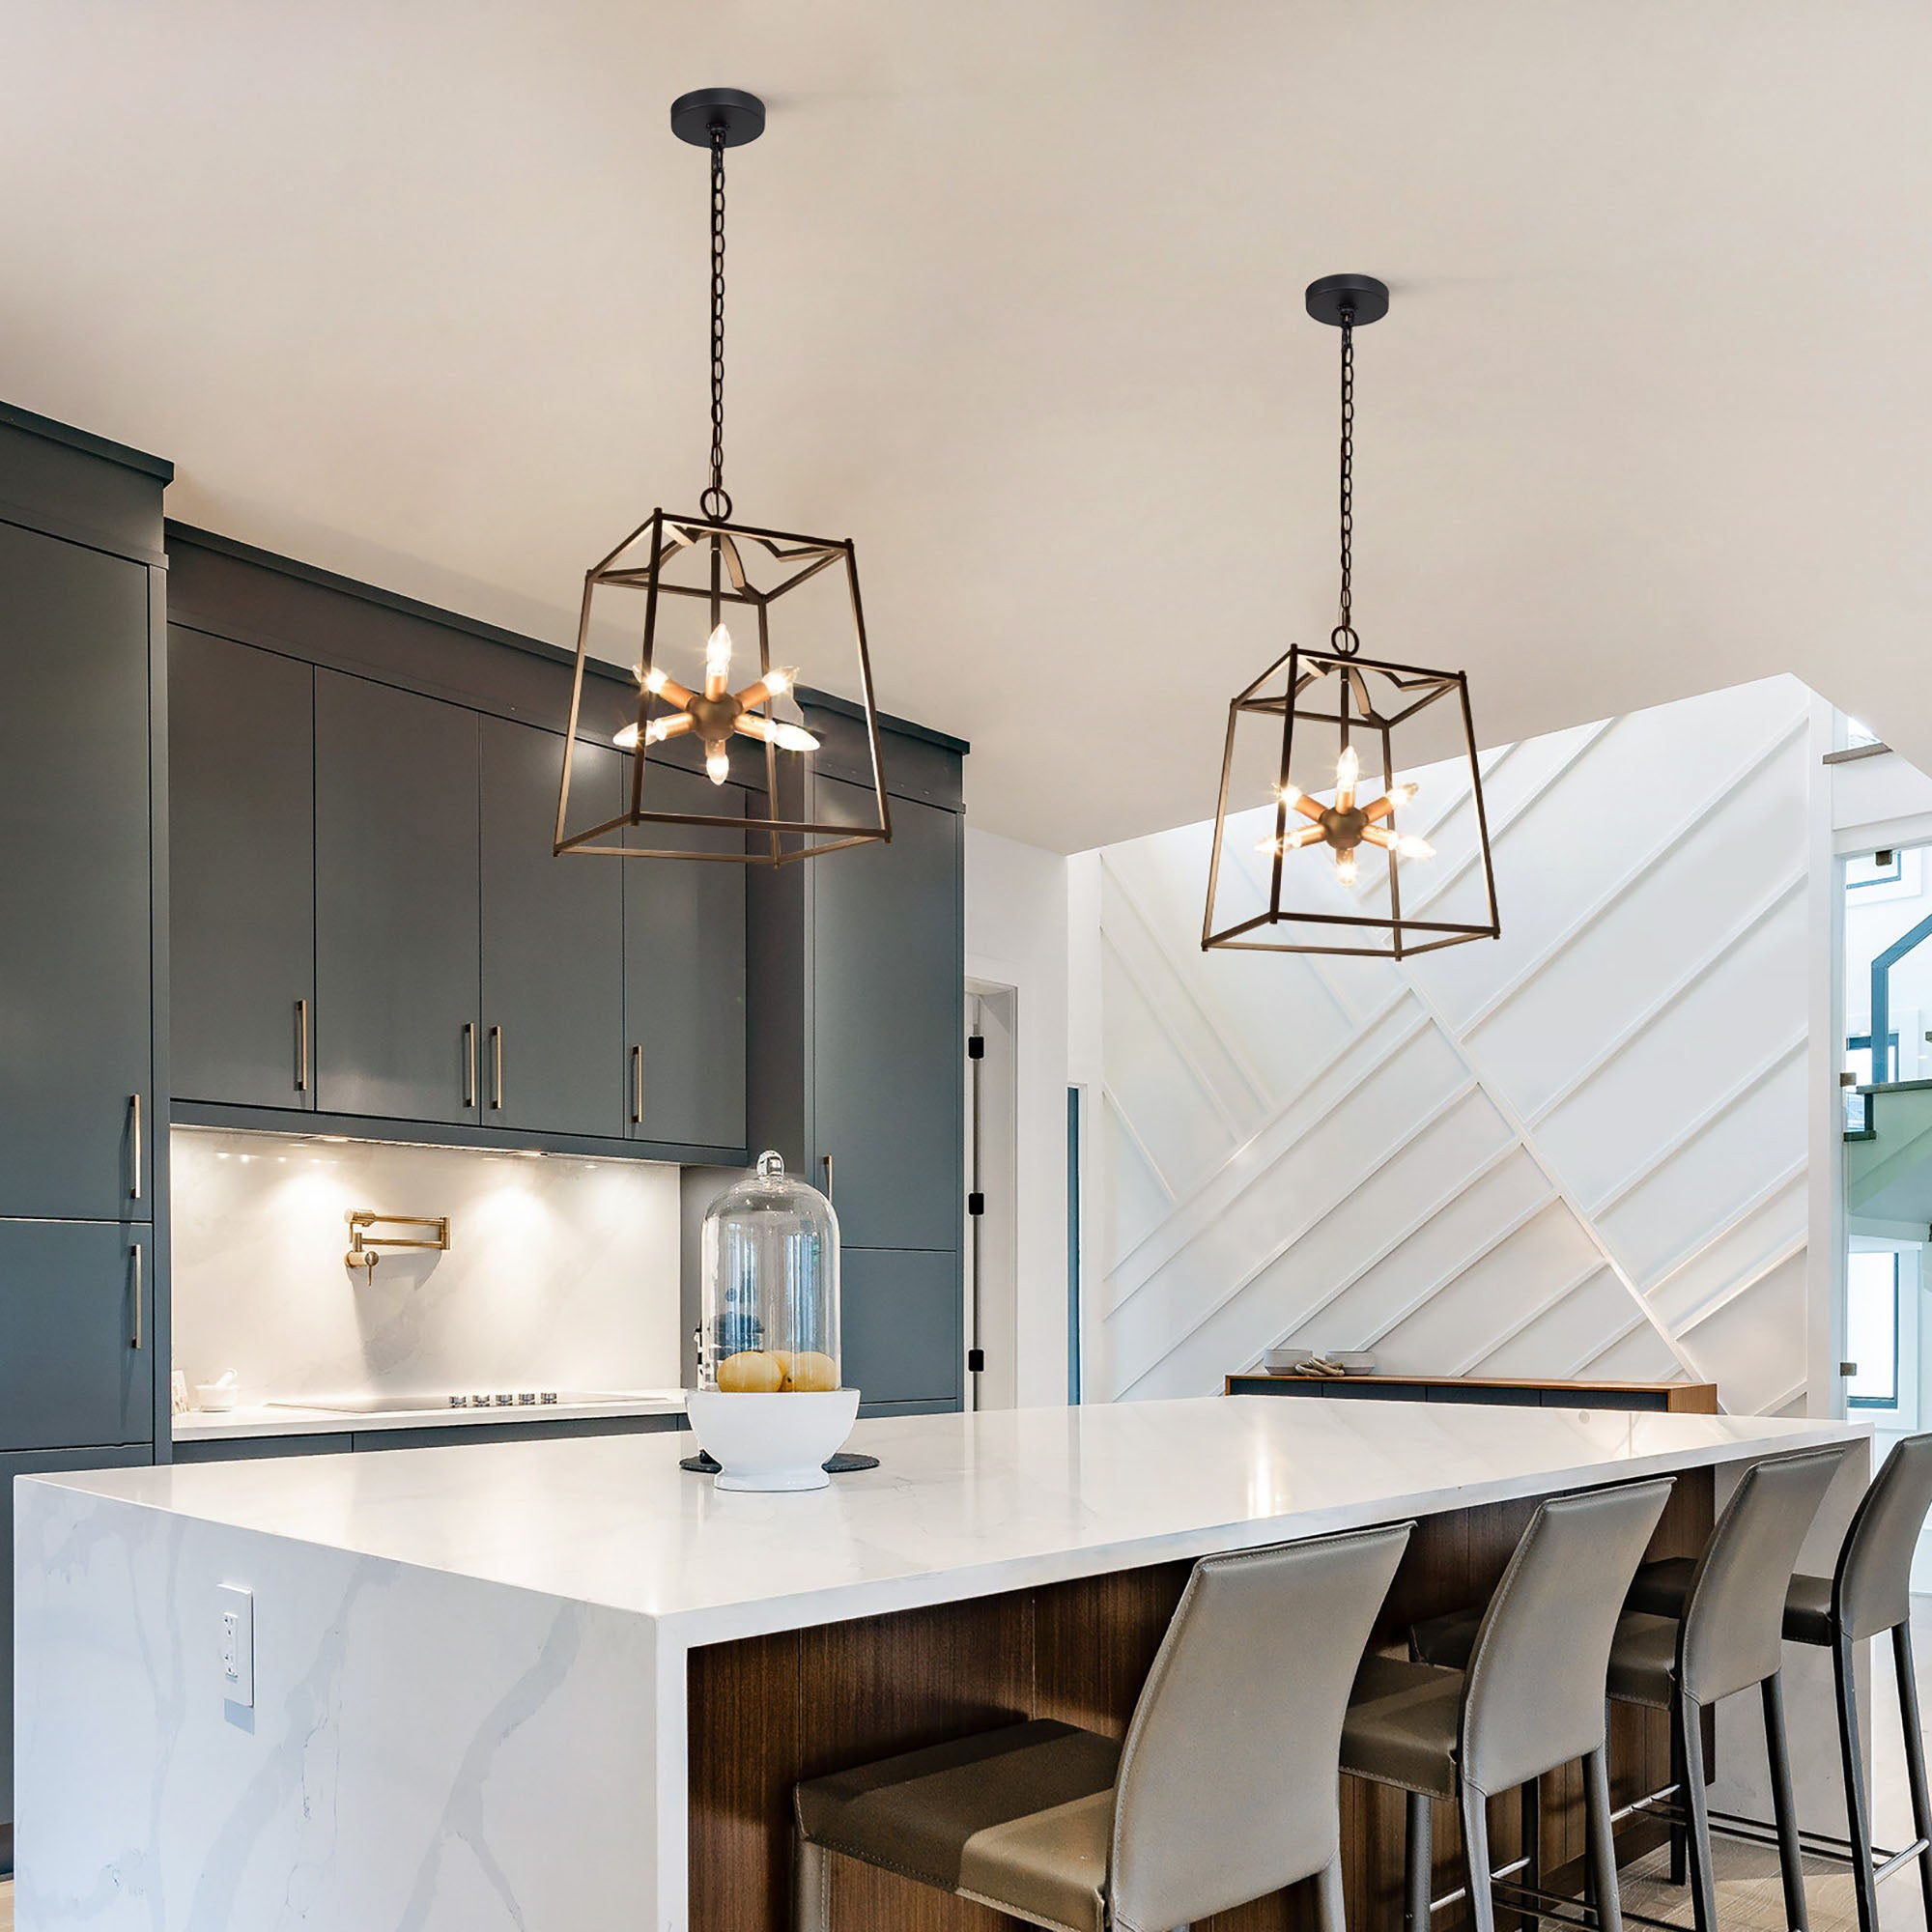
Looking for a fun and creative way to add some charm and character to your home? Why not try making your own birdcage light fixture? This DIY project is a great way for homeowners to add a unique touch to their space while also saving money. In this article, we’ll outline the steps needed to create a beautiful birdcage light that will add style and personality to any room.
Materials
Before beginning, gather the necessary materials for this project. You will need:
- A birdcage (found at most craft stores or online)
- A light kit (also available at craft stores or online)
- Spray paint (in your color of choice)
- Wire cutters
- Pliers
- Decorative items (optional)
Instructions
Now that you have your supplies, it’s time to get started on creating your birdcage light. Follow these simple instructions:
Step 1: Choose a birdcage
First, choose a birdcage that will fit the size and style of the room you’ll be placing it in. It’s important to select a cage that is sturdy and well-made, especially if you plan to hang it from the ceiling. You can find birdcages in a variety of sizes and styles—some are even pre-painted! Select one that speaks to your personal style and is appropriate for the space you’ll be placing it in.
Step 2: Prepare the birdcage
Once you have your birdcage, it’s time to prepare it for the light fixture. Begin by removing any plastic or paper lining from the inside of the cage (if it has one). Use pliers to remove any hooks or attachments that might get in the way of the light or cause the birdcage to hang at an awkward angle.
Step 3: Spray paint the birdcage
Using your chosen spray paint color, coat the birdcage with an even layer of paint. Be sure to do this in a well-ventilated area, and protect any surfaces or floors from any overspray. Allow the paint to dry completely before moving on to the next step.
Step 4: Install the light kit
Follow the instructions for your light kit to install the fixture inside the birdcage. Depending on the kit, you may need to drill a small hole in the bottom of the cage to feed the wires through. Be sure to test the light fixture once it is installed to confirm that it is working properly.
Step 5: Decorate the birdcage (optional)
If you’d like to add some extra flair to your birdcage light, consider decorating it with some additional items. You might try adding some ribbon or lace around the edges of the cage, or adding a few artificial flowers or greenery. Get creative and make it your own!


