The Benefits of DIY Light Kits
DIY light kits have become increasingly popular among homeowners who want to add some extra flair to their living spaces. Not only are they easy to install, but they are also cost-effective, customizable and energy-efficient. Here are a few key benefits of using DIY light kits:
1. Cost-Effective
One of the primary benefits of DIY light kits is their affordability. Compared to hiring a professional electrician to install new light fixtures, DIY kits are significantly cheaper. Additionally, most kits come with all the necessary components, such as bulbs, wires and shades, so you don’t have to purchase anything separately.
2. Customizable
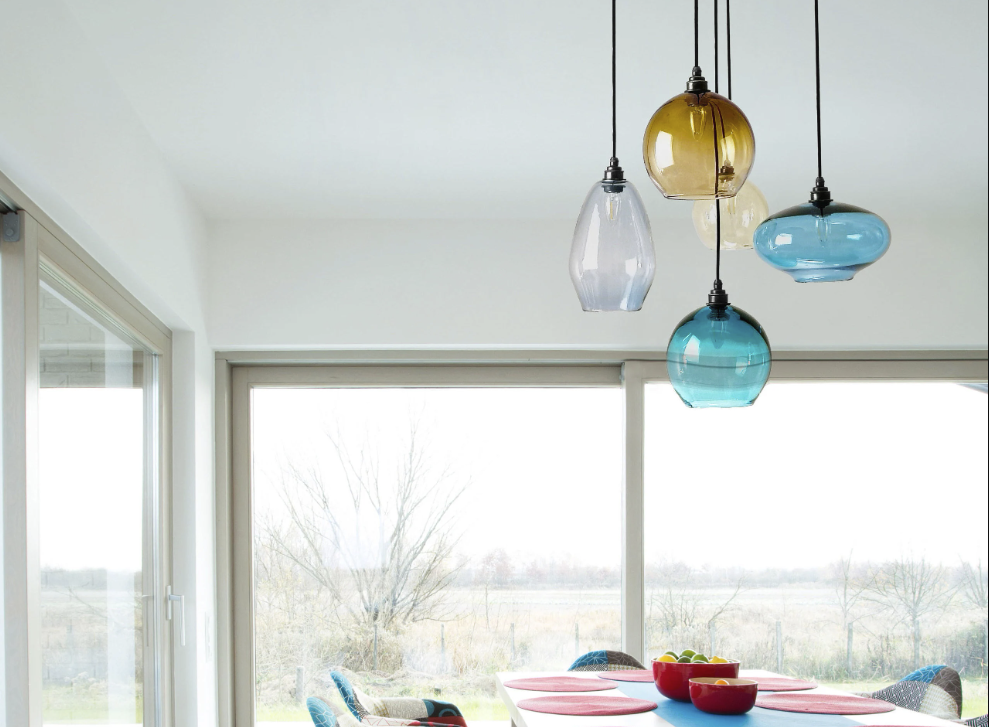
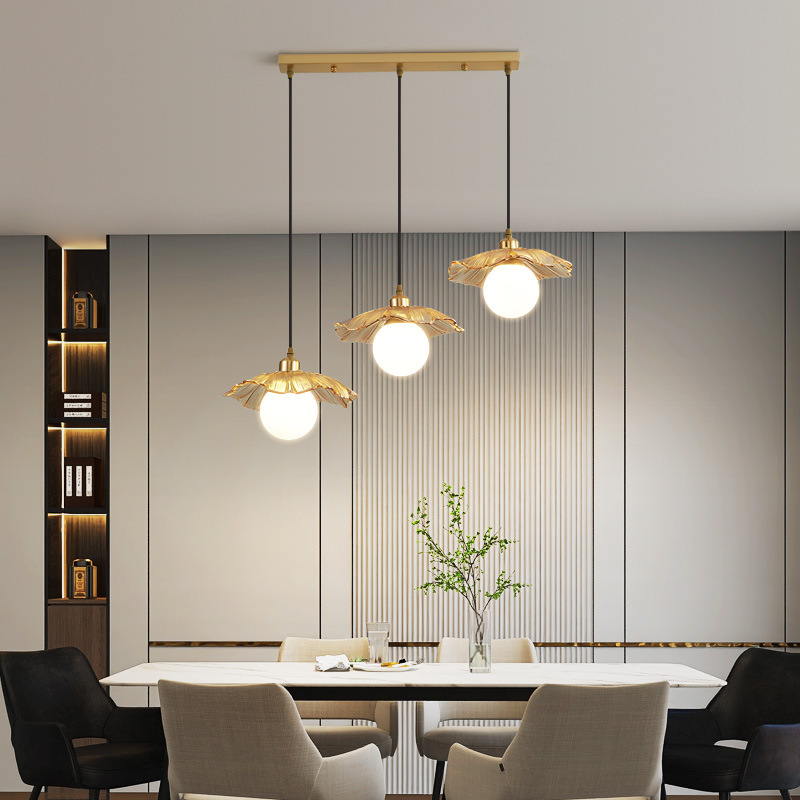
DIY light kits are perfect for those who want to add a personal touch to their home décor. With various options for bulbs, lampshades, and other components, DIY kits allow you to create unique and stylish lighting solutions that reflect your taste and personality.
3. Energy-Efficient
Most DIY light kits are designed to be energy-efficient, which means they use less electricity than traditional bulbs. This not only reduces your utility bill but also helps you reduce your carbon footprint.
How to Choose the Right DIY Light Kit
With so many options available, choosing the right DIY light kit can be overwhelming. Here are a few factors to consider when selecting a DIY light kit:
1. Purpose
Before you buy a DIY light kit, determine the purpose of the lighting fixture. For example, do you want to add ambiance to your bedroom or provide extra light for your workspace? The purpose of the fixture will determine the right style and brightness of the light.
2. Compatibility
Make sure the DIY light kit you choose is compatible with your existing light fixtures. If not, you may need to hire an electrician to make some modifications. Also, consider the compatibility of the bulbs and shades with the kit you select.
3. Style
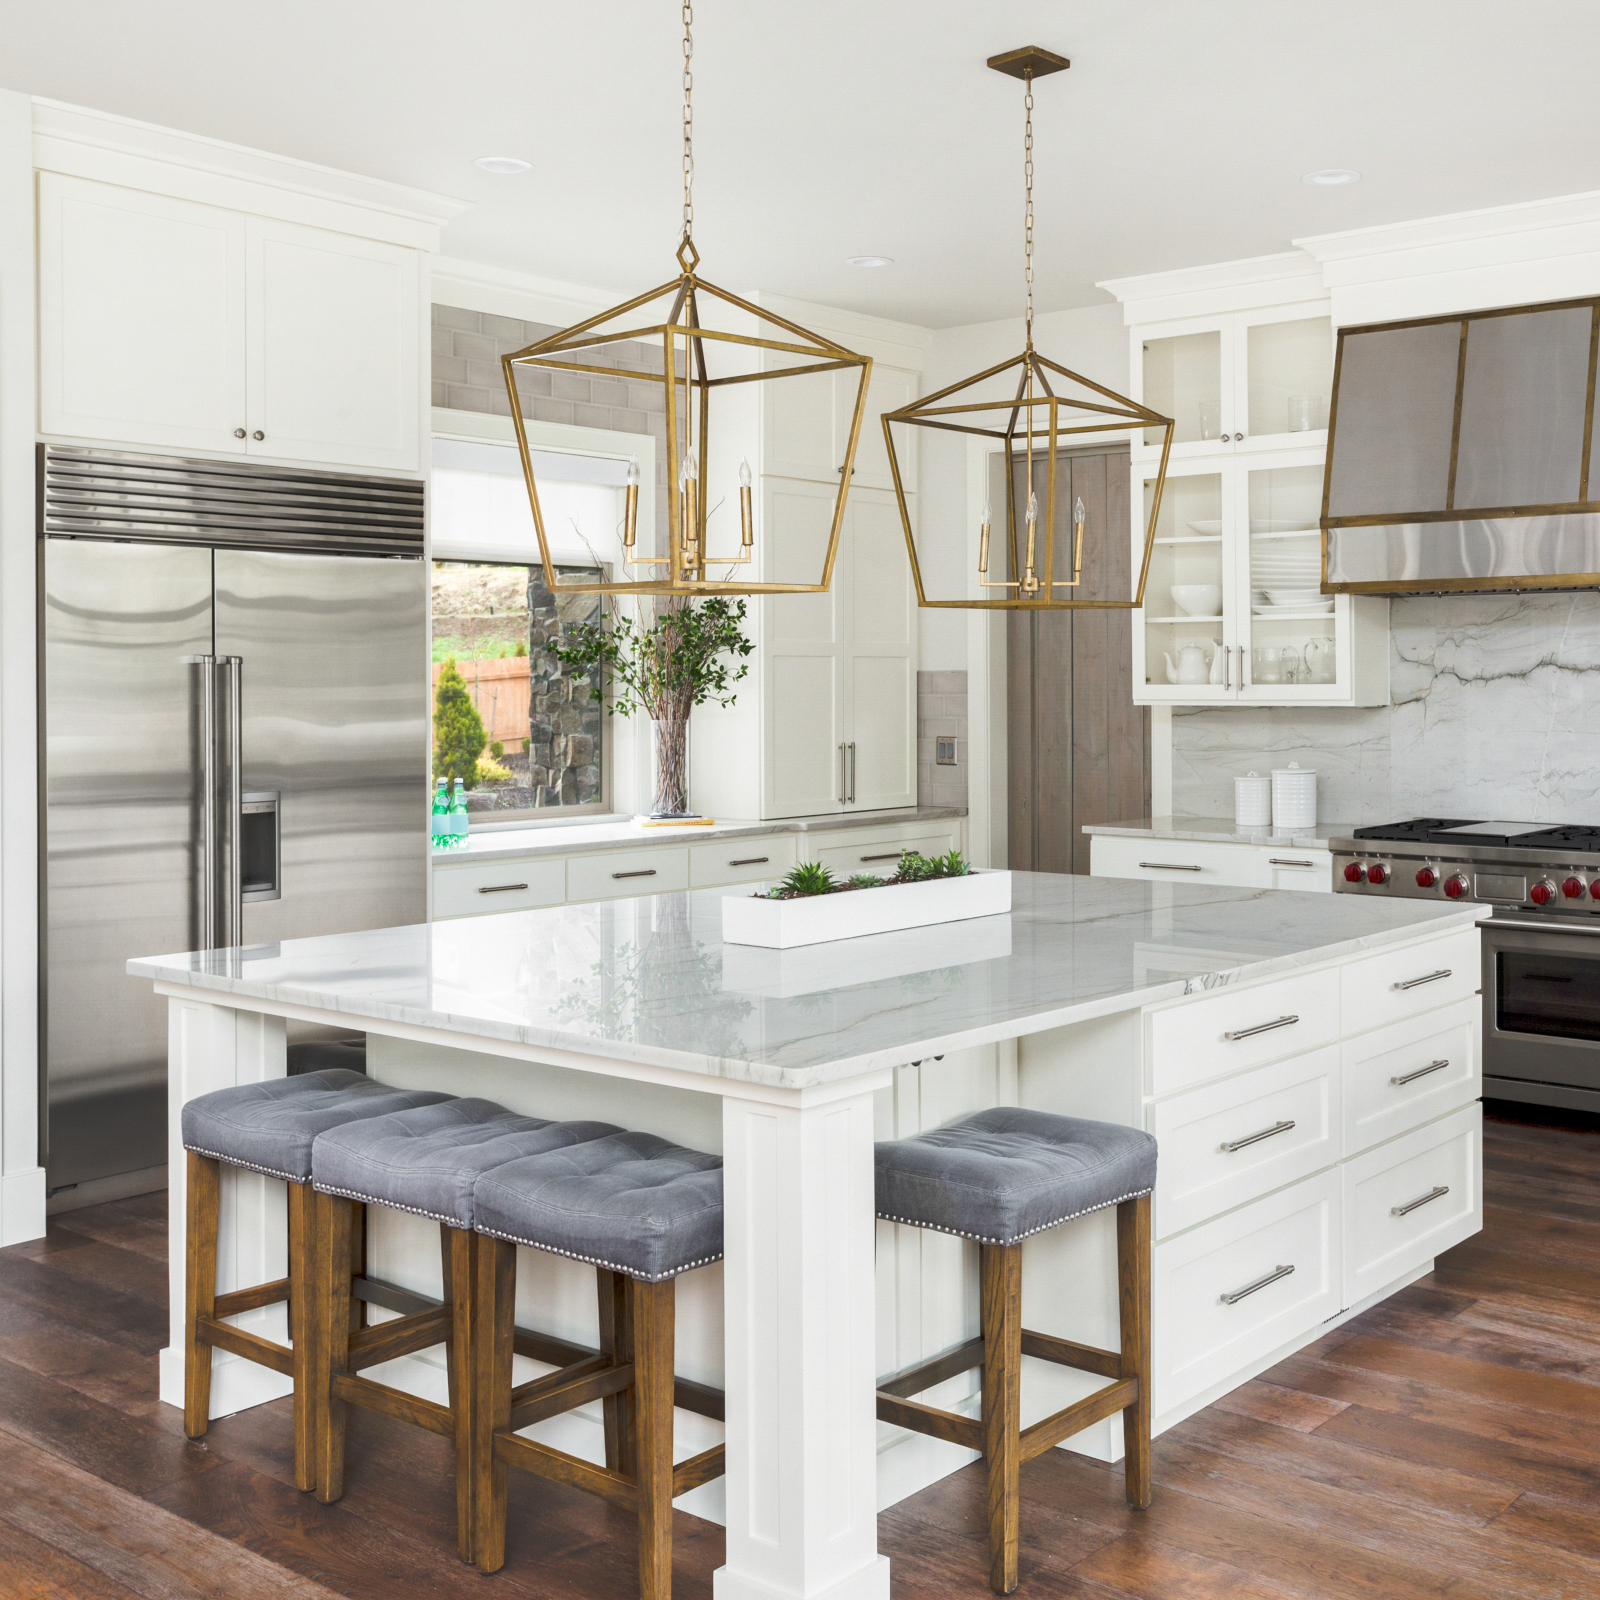
DIY light kits come in various styles, from modern and minimalist to vintage and retro. Choose a style that fits with the existing décor in your home.
Steps for Installing a DIY Light Kit
Installing a DIY light kit is a straightforward process that does not require any specialized skills. Here are the basic steps for installing a DIY light kit:
1. Turn off Electrical Power
Before you start installing a DIY light kit, turn off the electrical power to the existing light fixture by turning off the circuit breaker.
2. Remove Existing Light Fixture
Remove the existing light fixture using a screwdriver or pliers. And then, disconnect the wires from the fixture.
3. Assemble DIY Light Kit
Assemble the DIY light kit according to the manufacturer’s instructions. This usually involves attaching the wires to the base and installing the lightbulbs and the shade.
4. Attach the DIY Light Kit
Attach the DIY light kit to the ceiling or wall using screws and anchors. Make sure it is secure and level.
5. Connect Wires
Connect the wires from the DIY light kit to the electrical wires in the ceiling or wall. Use wire connectors and follow the manufacturer’s instructions.
6. Turn on Electrical Power
Finally, turn on the electrical power to the newly installed DIY light kit and test it to make sure it is working correctly.
DIY light kits are an excellent way to spruce up your home décor, and they are easy to install and cost-effective. By choosing the right kit and following the installation steps, you can add unique and stylish lighting solutions to your home. So, get creative with DIY light kits and illuminate your home in style!